Shower Enclosure Installation.
Not the easy of jobs, they are heavy and there is a lot to think about.
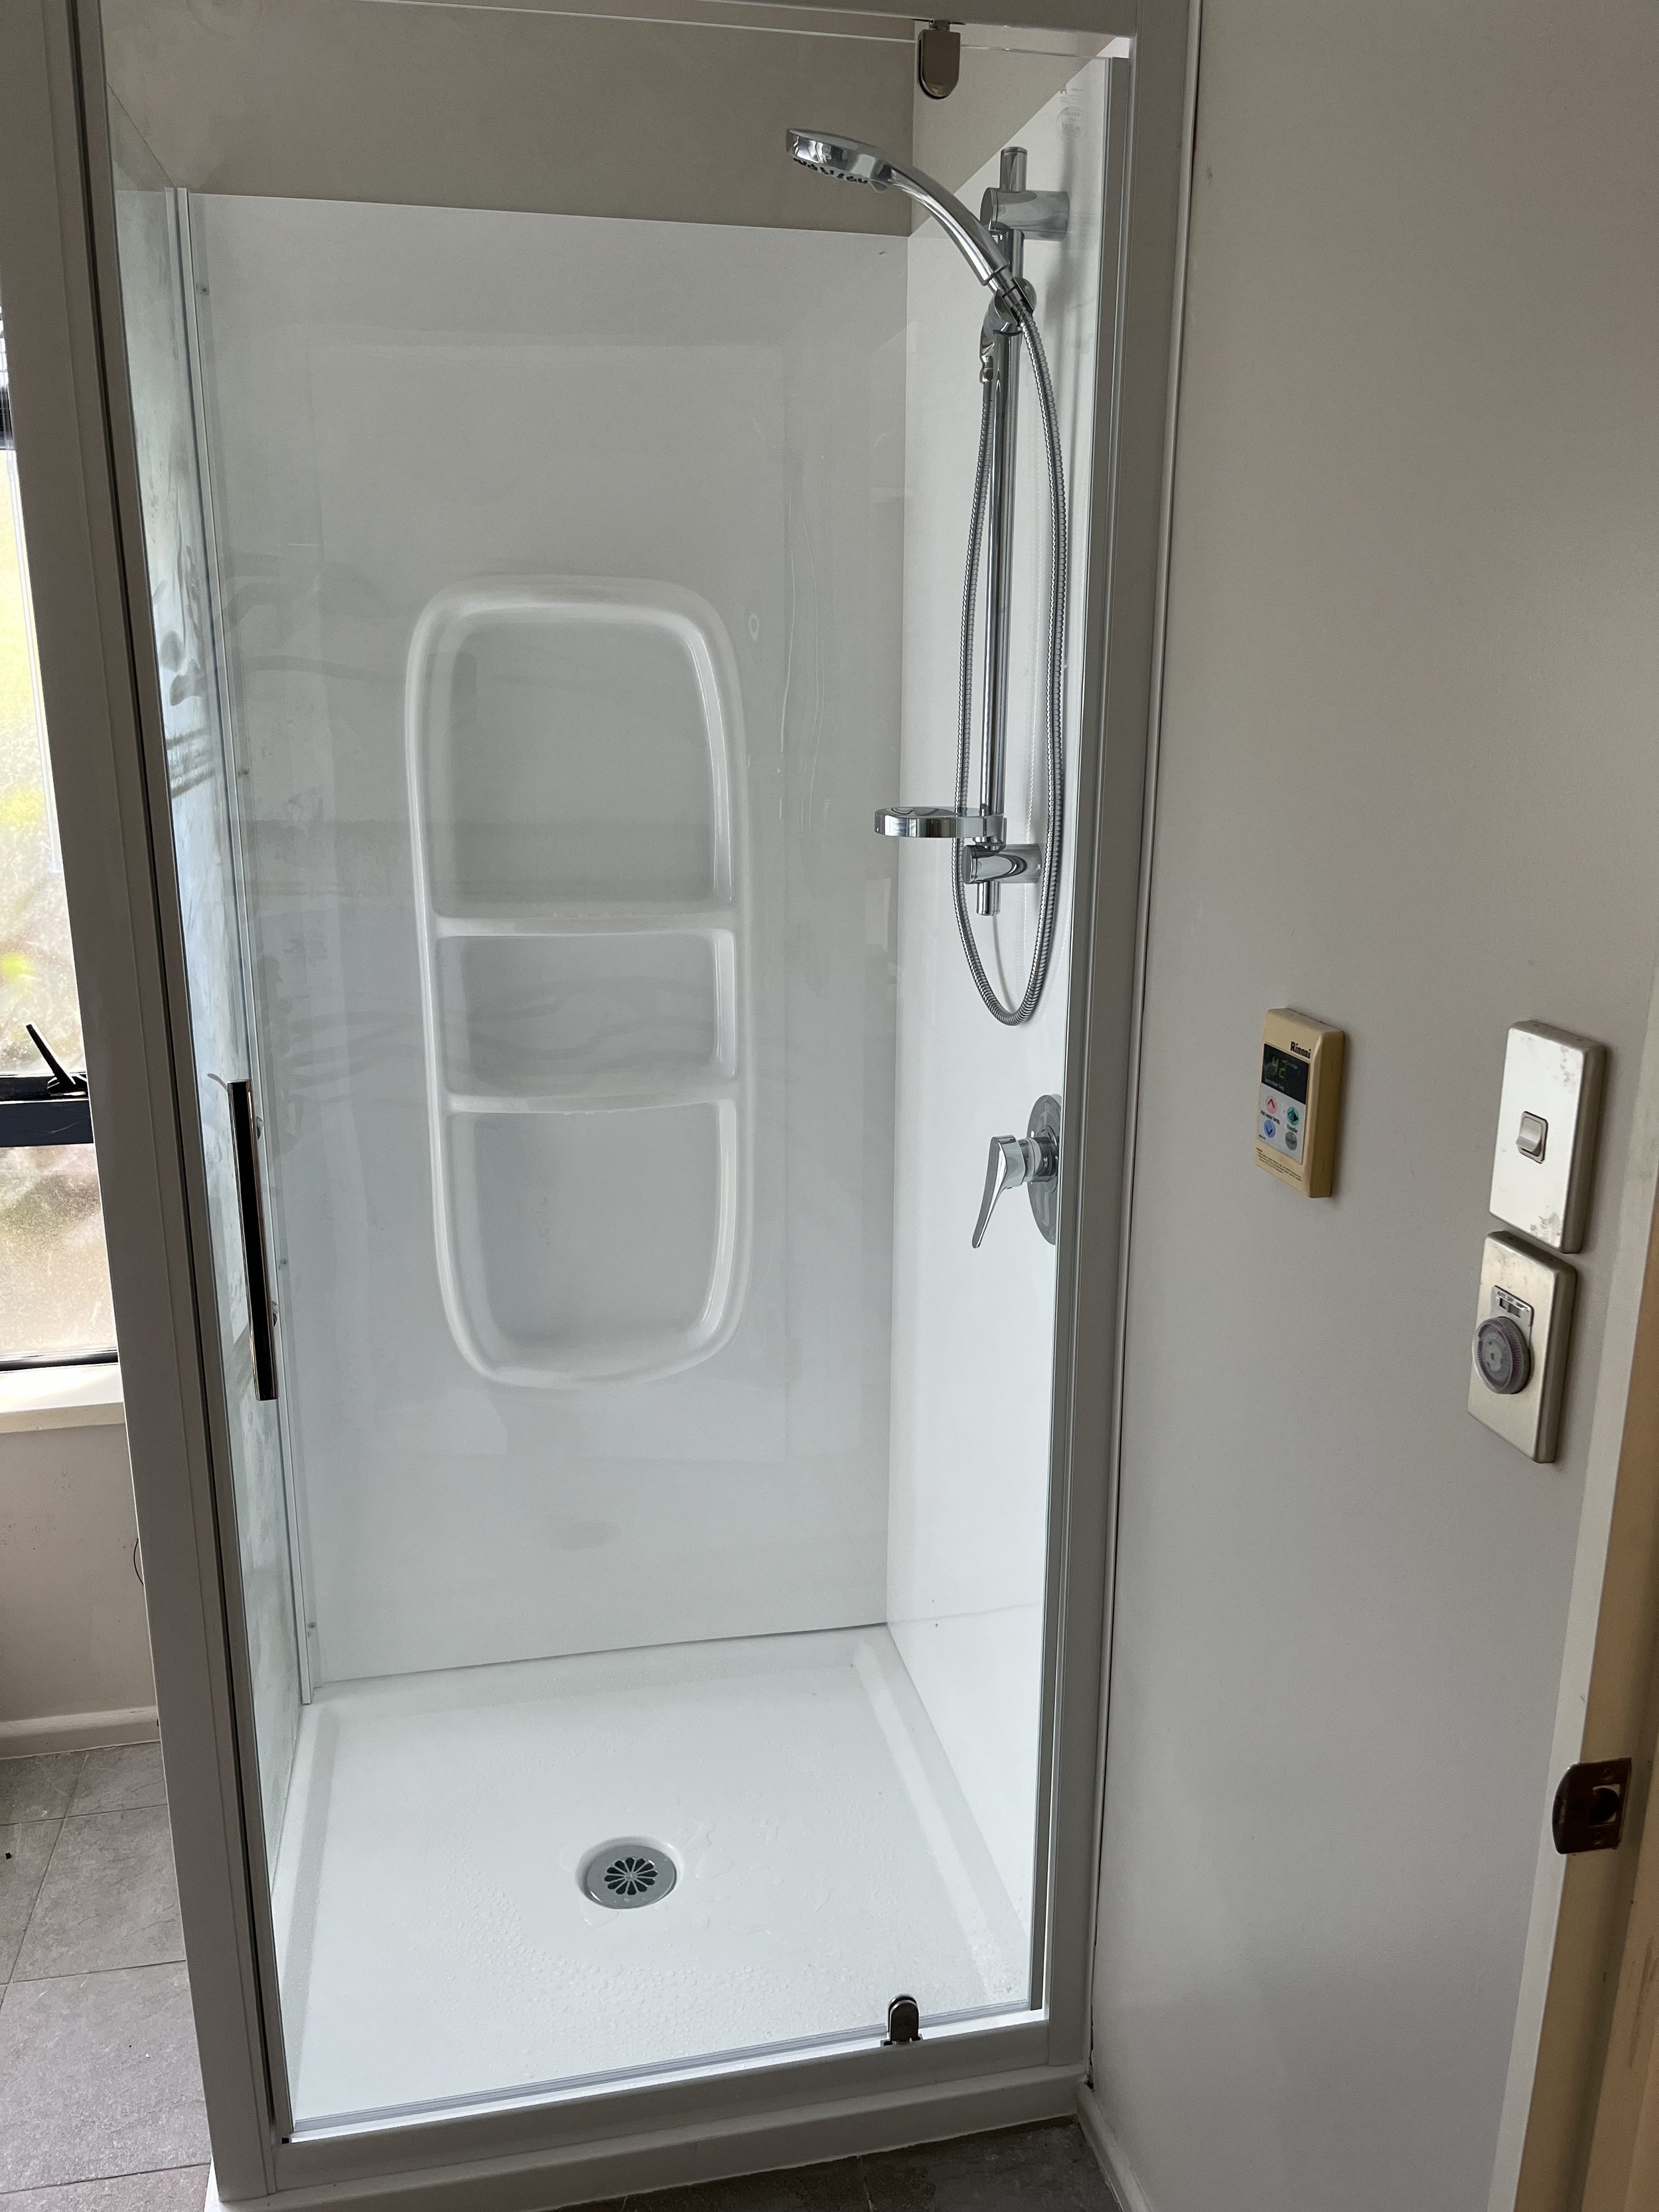
After removing the mixer plate and rail, it’s time to take out the side panels, this is where all the weight is, especially the door as it also wants to open when lifting. The liner came off quite easy, unfortunately the shower tray is a little more difficult. The tray is installed prior to tiling and the skirting being installed, however, if you are careful it can be lifted without damaging either. The gib behind the liner is cut out, I generally leave a 20mm lip so that the liner covers the new gib. The tray is the key, it needs to be level. As a rule 1mm out on the tray = 2mm out at the top of the liner. After installing the tray, I leave the adhesive to set for 24hrs, this prevents the adhesive being squashed down and ensures a solid seal. After patching the gib, installing the liner and side panels, new front of wall rail and mixer, the result was a happy customer with a new shower enclosure.
If you are looking at renovating give me a call. Meeting your plumbing needs.